Hanthana Linux 14 Installation Guide
Hanthana Linux 14 Installation Guide
Getting ready to install Hanthana Linux operating system
This can be followed for both 32-bit and 64-bit mode installations of the LiveCD and LiveDVD which were released with Hanthana Linux 14.
Hardware of your computer
To install Hanthana Linux DVD Version it is required to have minimum hardware configuration mentioned below.
* i386 computer architecture
* 400MHz processor
* 512MB RAM minimum (1GB recommended)
* 15GB free space in the hard disk minimum
Get a copy of Hanthana Linux DVD version
Visit http://www.hanthana.org, download DVD iso file and burn it to a DVD (make it a bootable DVD) or get a copy from someone who already have a copy.
Backup data
If you wish to install Hanthana Linux on your computer, we recommend that you backup all your precious data.
Set DVD as the first boot device of your computer
Enter to the BIOS settings of your computer and set DVD drive as the first boot device. Save the settings. If you computer has the feature to choose the boot up device when the computer boots, you can follow that way also.
Now you are ready to install Hanthana Linux
As the installation of Hanthana Linux is done from a DVD it may take some time to proceed from one step to the next (depending on the time taken to read the DVD and the hardware configuration of the computer). Be patient until the next step is loaded. It will ensure that you will complete the installation without much trouble.
Boot the computer
Boot your computer with Hanthana Linux DVD. You will get the following screen.
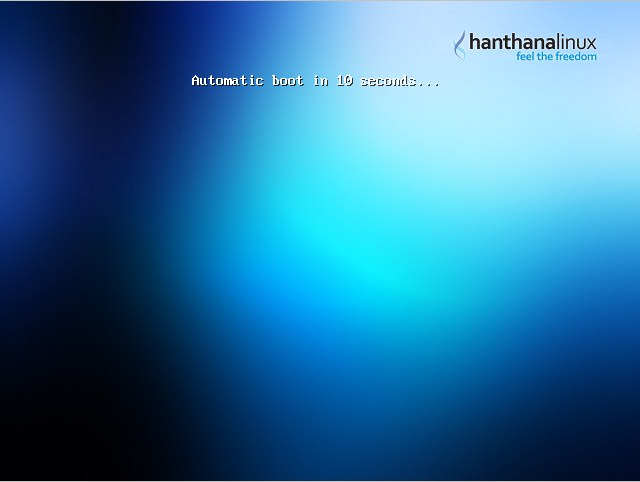
Hanthana Linux will start loading automatically after ten seconds. If you press any key in the keyboard while above screen is there, you will get the following screen.
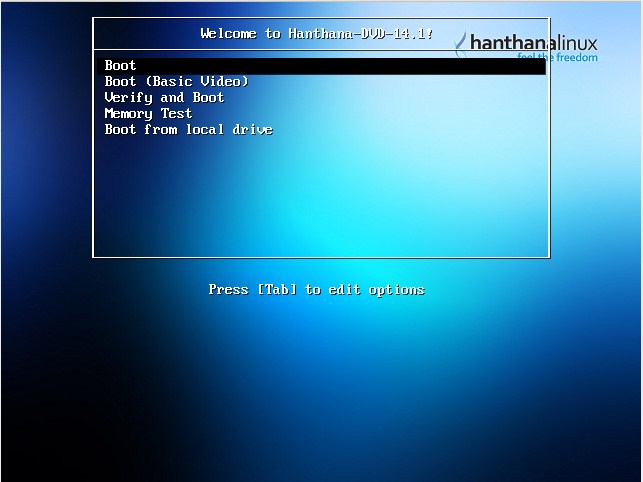
If you wish to continue with the Hanthana Linux loading process select "Boot" and press Enter key.
(If you do not wish to start the computer with the Hanthana Linux disk select the bottom most entry in the above menu i.e. "Boot from local drive" and press Enter key)
The next screen after you select to load Hanthana Linux will show the progress of the loading.

Enter to Hanthana Linux Desktop
With the completion of the progress bar there will be a screen similar to the one below. This will allow you to enter Hanthana Linux Desktop.
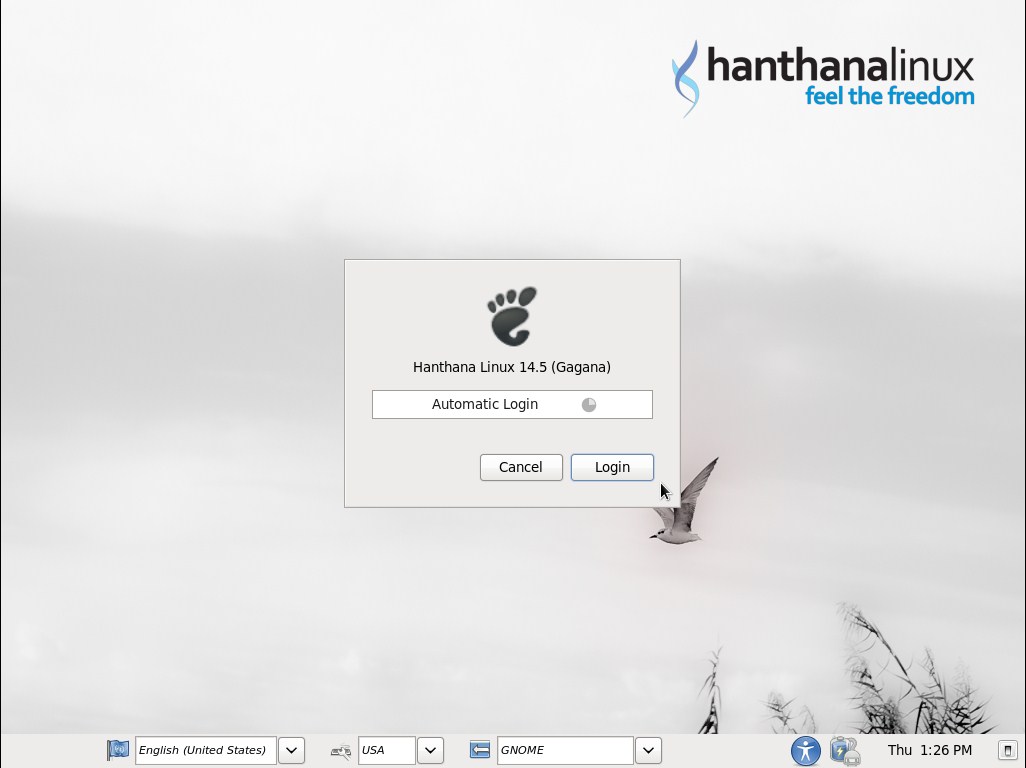
Press 'Login' button.
You will see that 'English (United States)' is selected as the default language. To change the language to Sinhala and to get Sinhala interface, press the language drop down menu at the bottom left of the screen, select 'Other' and select 'Sinhala (Sri Lanka)' from the list that appears.
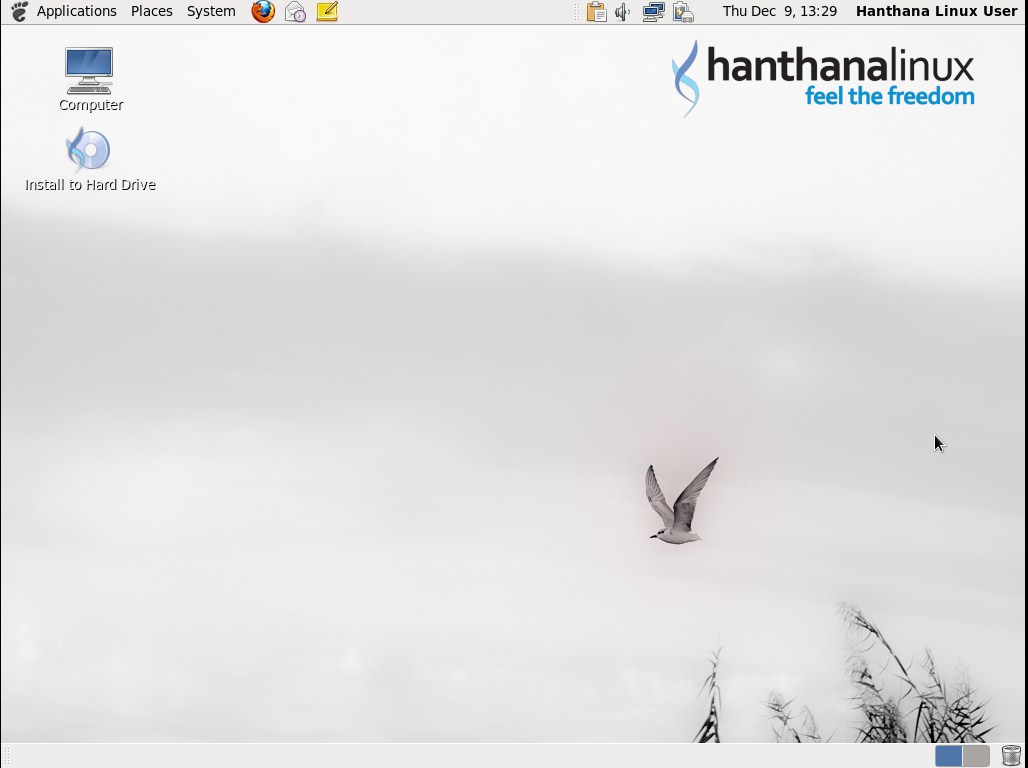
Next you will see Hanthana Linux desktop.
Installation
Double click "Install to Hard Drive" icon in the desktop. Then you will get a window similar to the following screenshot.

Click "Next".
Selecting keyboard layout
Next window of the installation wizard will let you select your keyboard layout. Default layout is (default) "U.S. English". If your keyboard layout differs from the default, select yours from the list. If you have no knowledge on this leave the default as it is.
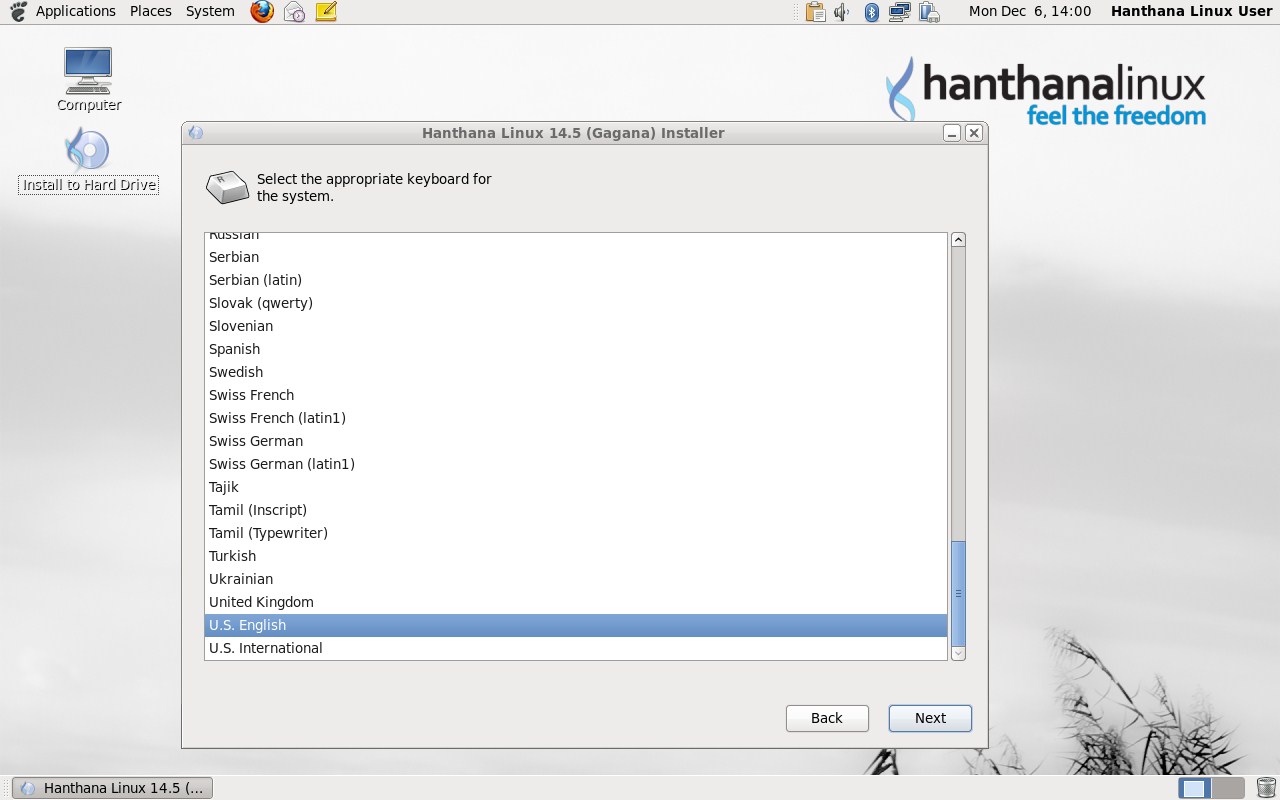
Click "Next".
Selecting the type of devices for the installation
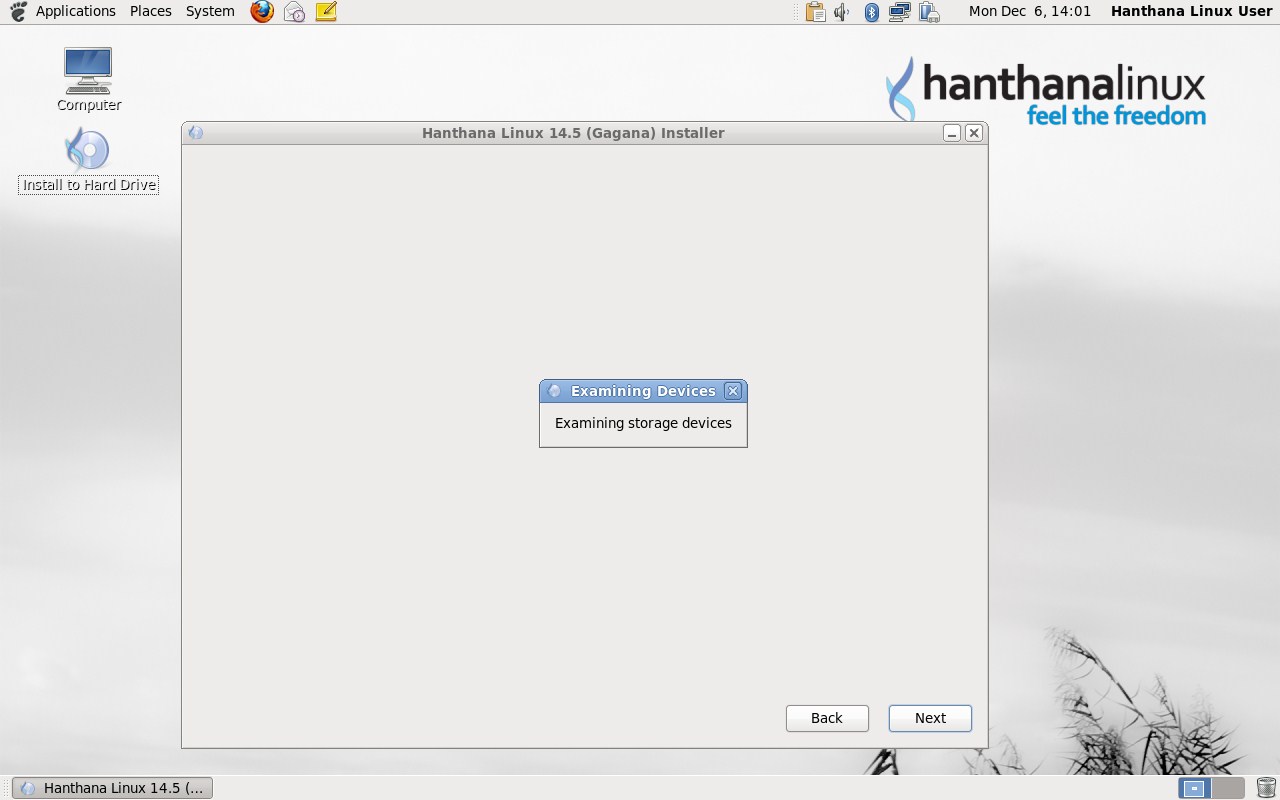
In this window you will be able to select the type of device that you are going to install Hanthana Linux to. As you are going to install to the hard disk leave the default option i.e. "Basic Storage Devices" as it is.
As special storage devices are not used in your home or school environment it is sufficient to select "Basic Storage Devices". If you are not sure whether such devices are used in your office please contact the IT officer of your office.

Click "Next". Next you will see a window similar to the following. Please wait and be patient.
Hostname
This window will let you enter a name for your computer that will enable to identify your computer easily in a network. If you do not wish to connect to a network you may use the default "localhost.localdomain". If you are installing Hanthana Linux in a school lab it will be easy to identify if you provide a short code and a serial number. ex: dc01, dc02. If your school or company has a domain name that also can be included to the computer name. ex: if the domain name of the school is dc.schnet.lk and the identification serial number of the computer is dc01, the host name would be dc01.dc.schnet.lk.
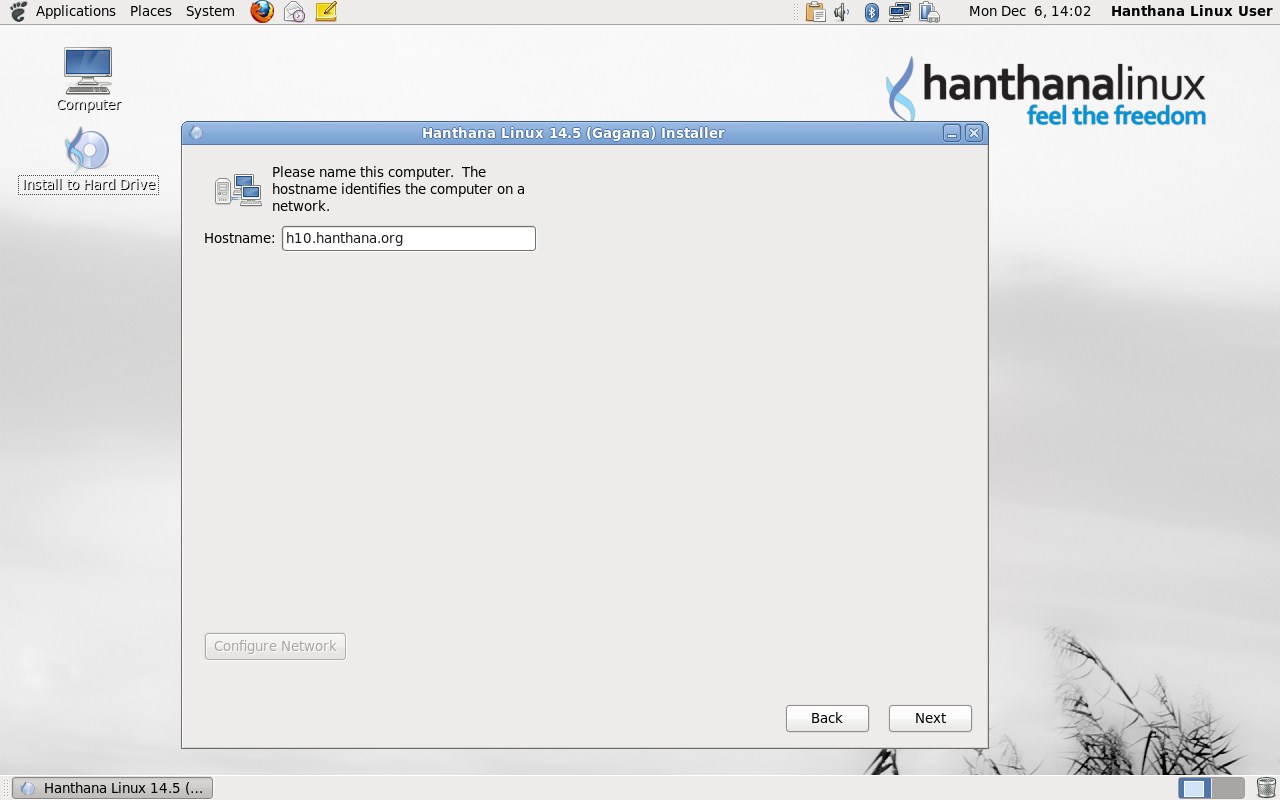
Click "Next".
Selecting your time zone
Select your time zone. For this you can either select the country from the map or you can select the time zone from the drop down menu below. For Sri Lanka select "Asia/Colombo".
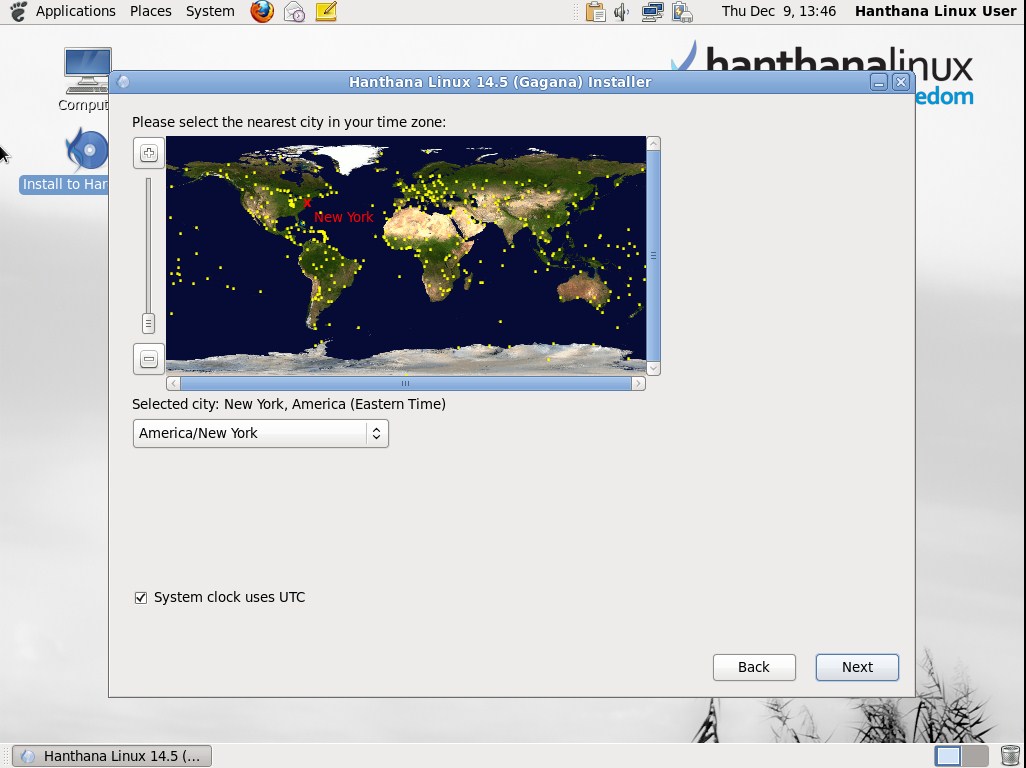
Click "Next".
Root account
You need to have special permissions to do special operations such as user management, network settings, in using your computer. You need a root account to perform this kind of special operations.
This window allows you to set a password to this special user account i.e. root account. Make sure that you enter the same password in the two text fields provided. And please memorize the password.
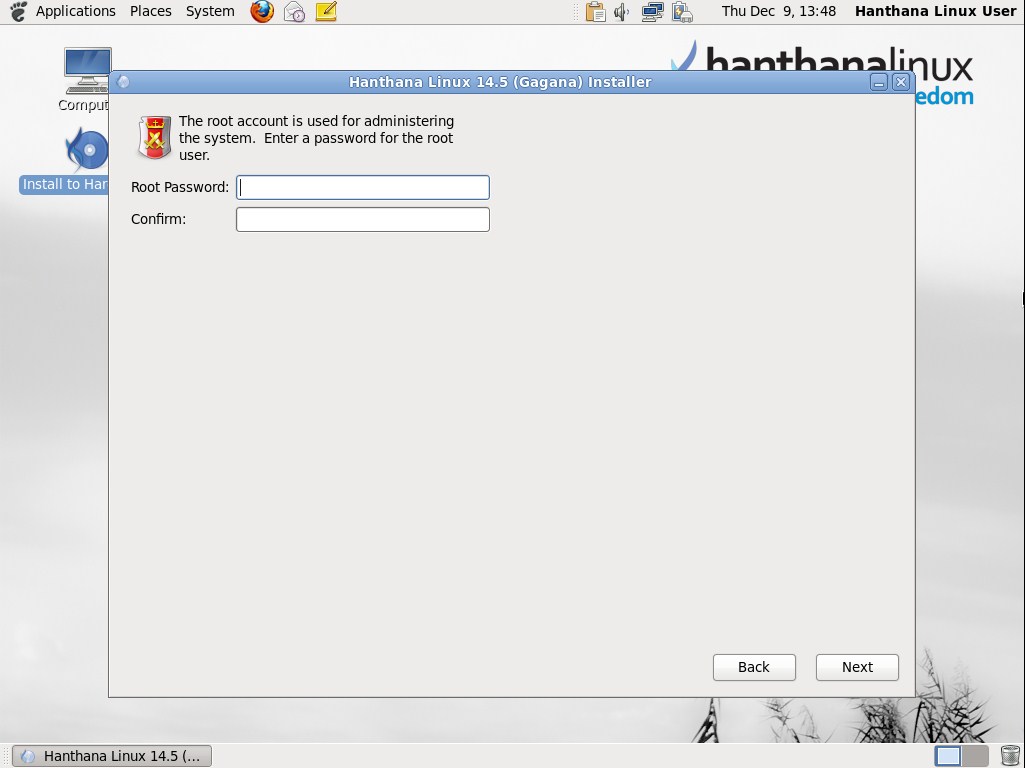
Click "Next".
If the password is weak you will get the following error message.
examples for weak passwords: abc123, kamal123, hanthana123
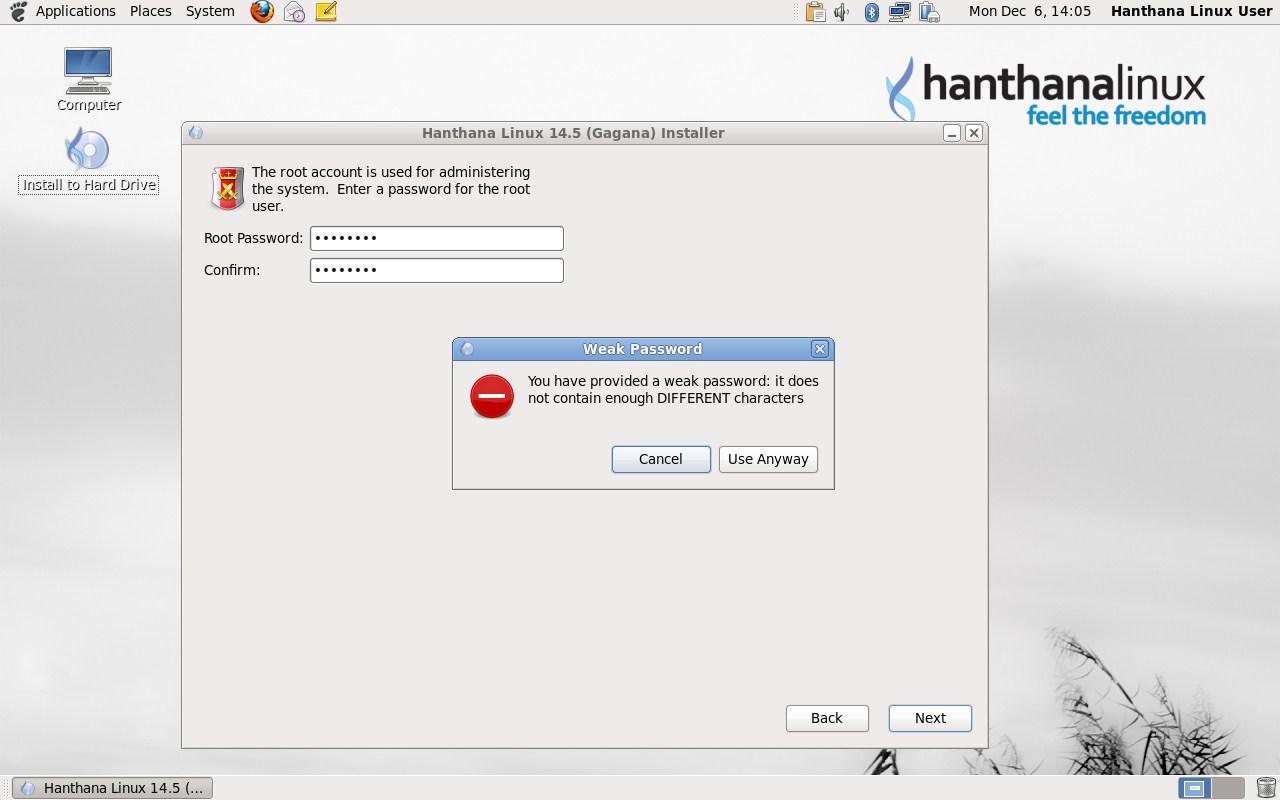
Press on "Cancel" to enter a different password or press "Use Anyway" to continue.
Selecting type of installation
You can see install options here. Although you can make selections as you wish, pay attention to your selection. Please read the description after each option before you select the options.
For an example if you select "Use All Space" option and continue, all existing data in your hard disk will be lost.
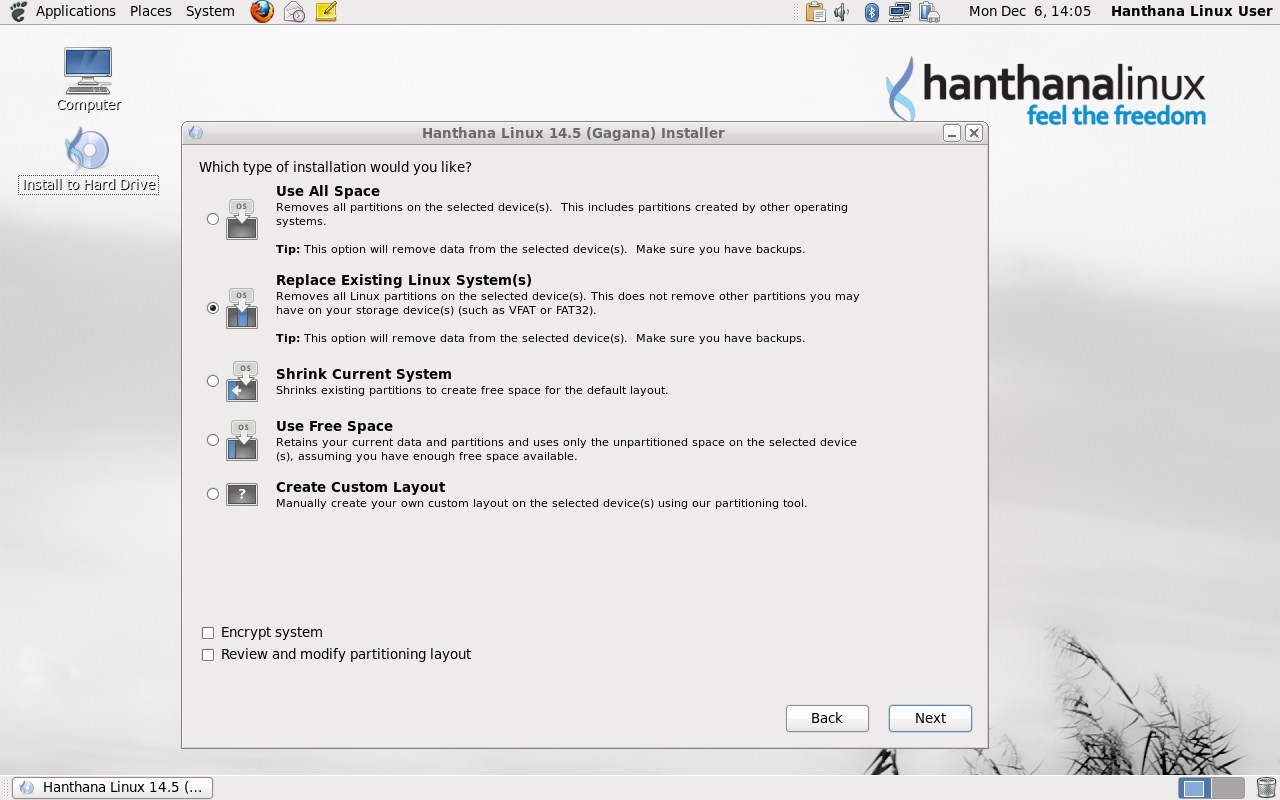
Use All Space
With this option the total space in the hard disk will automatically be used for Hanthana Linux installation. This will result with the loss of your all existing data including the existing operating system and the hard disk will be formatted. Make sure that your data is protected before selecting this option.
Replace Existing Linux System(s)
If you have any pre installed linux operating system, only the space allocated to that linux system will be used to install Hanthana Linux. File systems such as VFAT/FAT32/NTFS which are related with operating systems other than Linux such as Microsoft Windows will not be affected. If you have an installed linux operating system and if you feel uncomfortable with partitioning, this option may suit you.
Shrink Current System
This will resize your partitions with data and will use the freed space with a default layout.
Note : If you resize partitions that contain your operating systems sometimes that operating system will not work properly. In general a certain amount of free space in the hard disk is required for an operating system to work properly. Therefore before you resize partitions containing operating systems make sure that they have the required free space on the hard disk. However with this option there will not be any data loss.
Use Free Space
With this option available free space in the hard disk will be used to install Hanthana Linux and this will not affect any of your existing data or partitions. If you wish to continue with this option make sure that there is enough free space available in the hard disk for the installation.
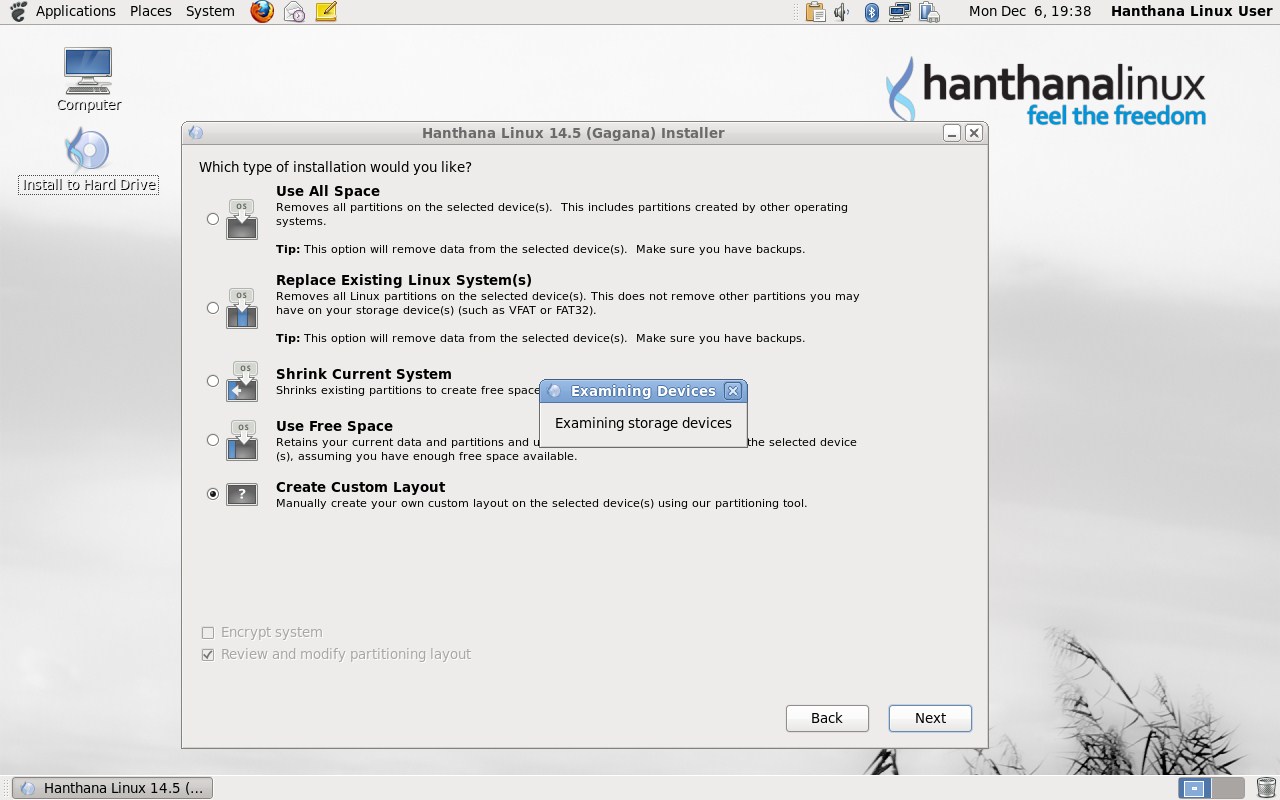
Create Custom Layout
This option can be used to install the system as you wish.
Let's consider continuing with "Create Custom Layout" option. This option can be identified as the best option that allows you to decide on how the installation should go.
Click "Next". You will get a window like the following. Please wait.
Partitioning
Next window will show your current hard disks and partitions. You can resize, delete and create partitions as you wish.
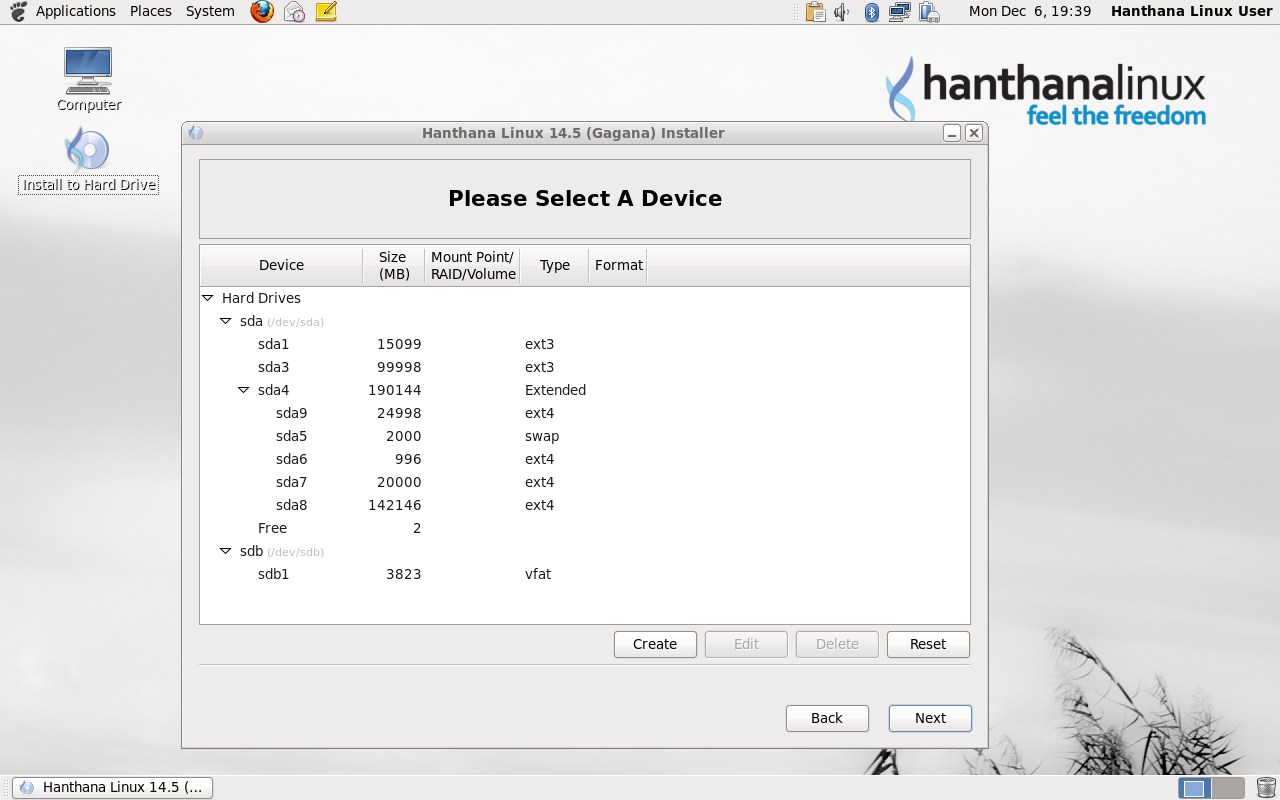
You may not get the very same window as above in your computer. The data shown as a table here may vary from computer to computer.
Let's consider creating new partitions in your computer to install Hanthan Linux. For that, select a partition with free space in your hard disk and press "Create" button. Then you will get a window similar to the following.
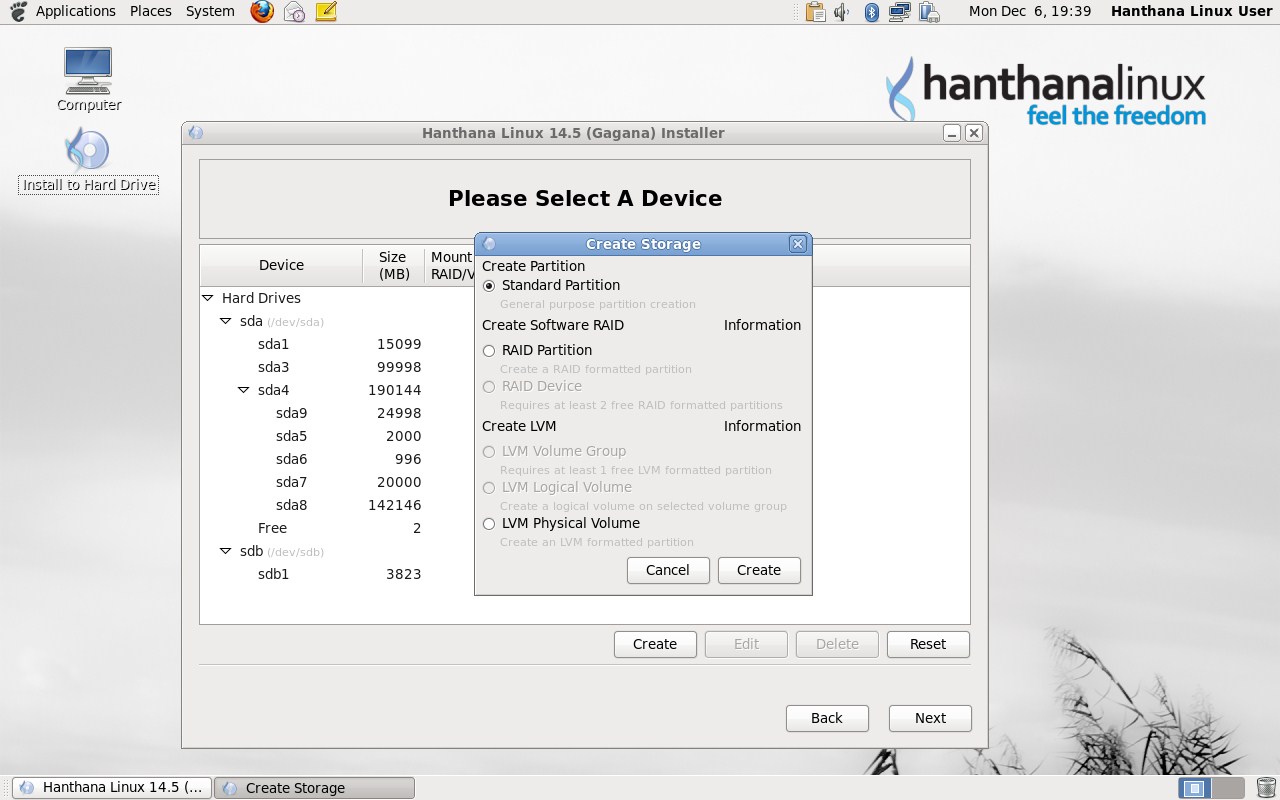
Select "Standard Partition" under "Create partition" and press "Create" button. You will get a window similar to the following.
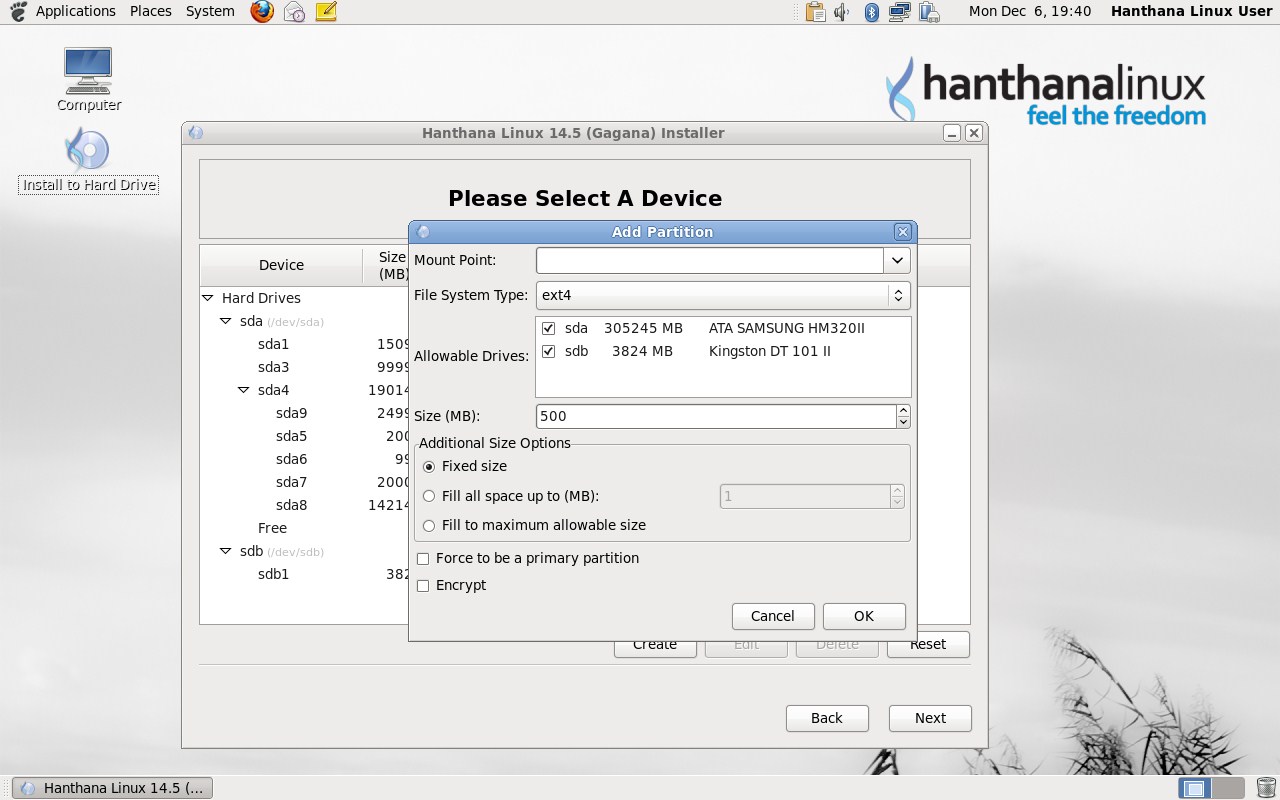
Here you can specify Mount point, File System Type, size of the partition etc. and create the partition. Following partitions are suitable to install Hanthana Linux. Repeat the above steps to create the partitions.
Mount point- File System Type- Size- Description
/- ext4- About 12GB This partition is compulsory. Although a small partition like 6GB will be sufficient it will be troublesome when installing new software later. Therefore at least 12GB space is suitable. Yet more than 15GB is not recommended.
/boot- ext4- 500MB- Not compulsory. In reality only around 30MB space will be utilized. But in a system upgrade this 500MB space will be used. You can't use the remaining space in this partition for your use.
/home- ext4- As you wish- Not compulsory. This is the partition where user stores data. Therefore you can allocate any amount of space as you wish for this partition. Having a separate /home partition will enable you to protect user data. And in cases where you change your system to a different one or do a upgrade, separate /home will give you the chance to have most of your previous used user preferences also for the new system. If you have your personal documents, mp3 files, movies etc. make sure you allocate space that will be sufficient for your files.
- swap- 1GB or less- Not compulsory. This partition will use part of your hard disk space in cases when your RAM is not sufficient. The recommendation is to use space as twice as your RAM if your RAM is less than 1GB but not to exceed 1GB for the partition. None of the space allocated for this partition will be available for your personal use.
If you do not create above mentioned /boot and /home partitions separately, they will be created automatically in the / partition. If you have pre installed operating systems in your computer they will be displayed with their appropriate file systems. ex: file system for Microsoft Windows will be shown as vfat.
The first hard disk of your computer will be displayed as /dev/sda or /dev/hda. If you have two hard disks they will be displayed as /dev/sdb or /dev/hdb. If you have 3 partitions in the first disk they will be displayed as /dev/sda1, /dev/sda2, /dev/sda3 or /dev/hda1, /dev/hda2, /dev/hda3 respectively. hda or sda means; IDE devices will have the letter h while SATA/SCSI devices will have s letter.
After creating partitions appropriately you will get a window similar to the following.
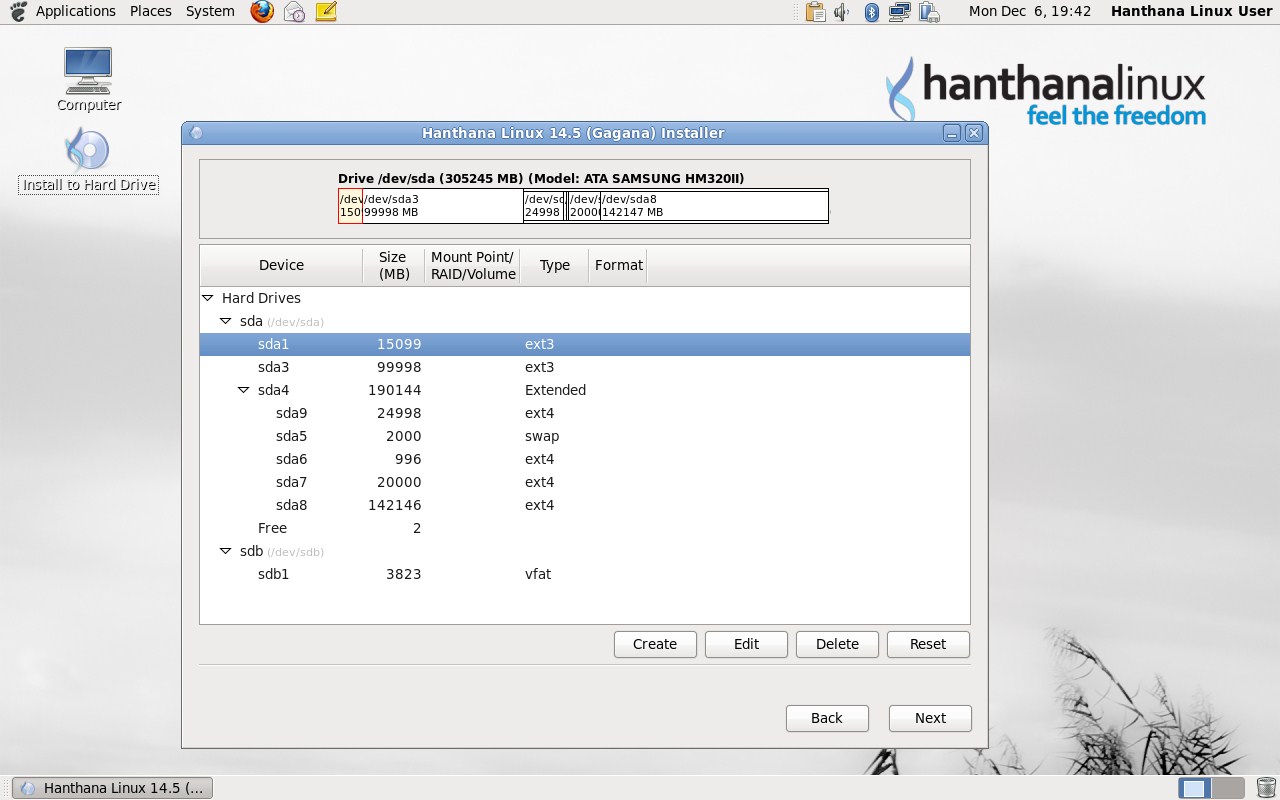
Partitions which have a tick in the "Format" column will be formatted and the data that were there will be deleted. Therefore please recheck whether you have marked a partition to be formatted that you don't intend to do so.
Click "Next". You will get a warning as following. This will show devices that you marked to format. If there is something wrong you can go to the previous window by clicking on "Cancel" button.
If the information shown here are correct, press "Format" button. Then you will get a confirmation message as follows.
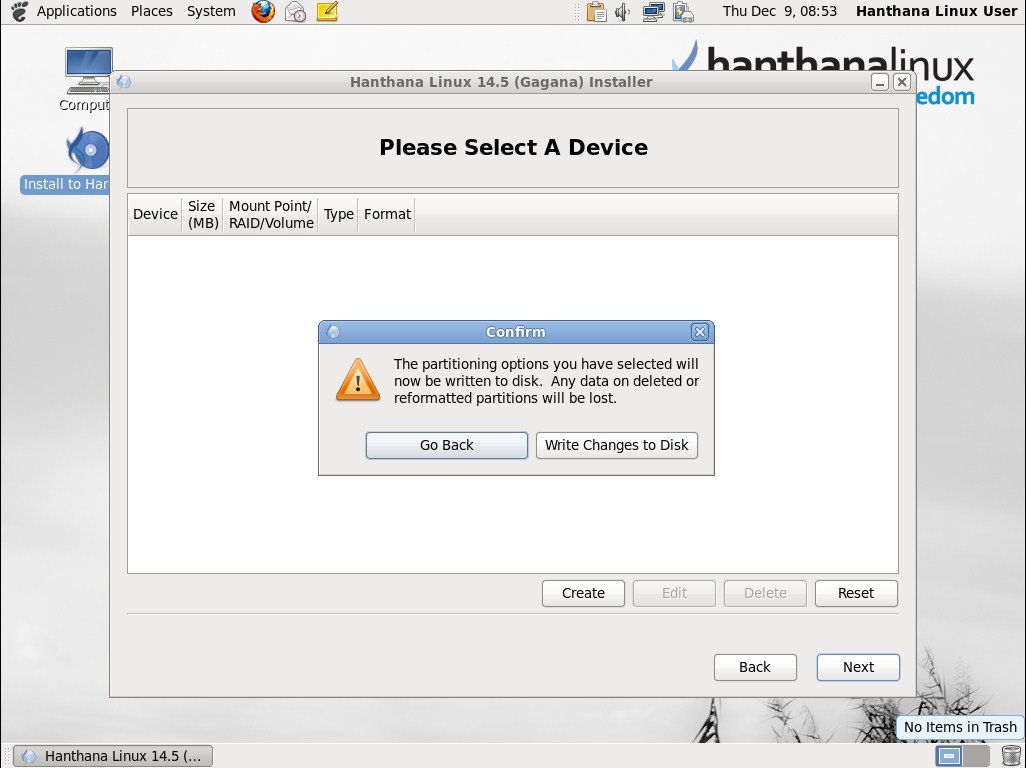
This allows you to reconsider your decisions to alter partitions you marked. If there is something wrong press "Go Back" button, correct it and proceed. Or else press "Write Changes to disk" to continue.
Please note that after this step you will not be able to reverse any changes that you are about to make to the partition table.
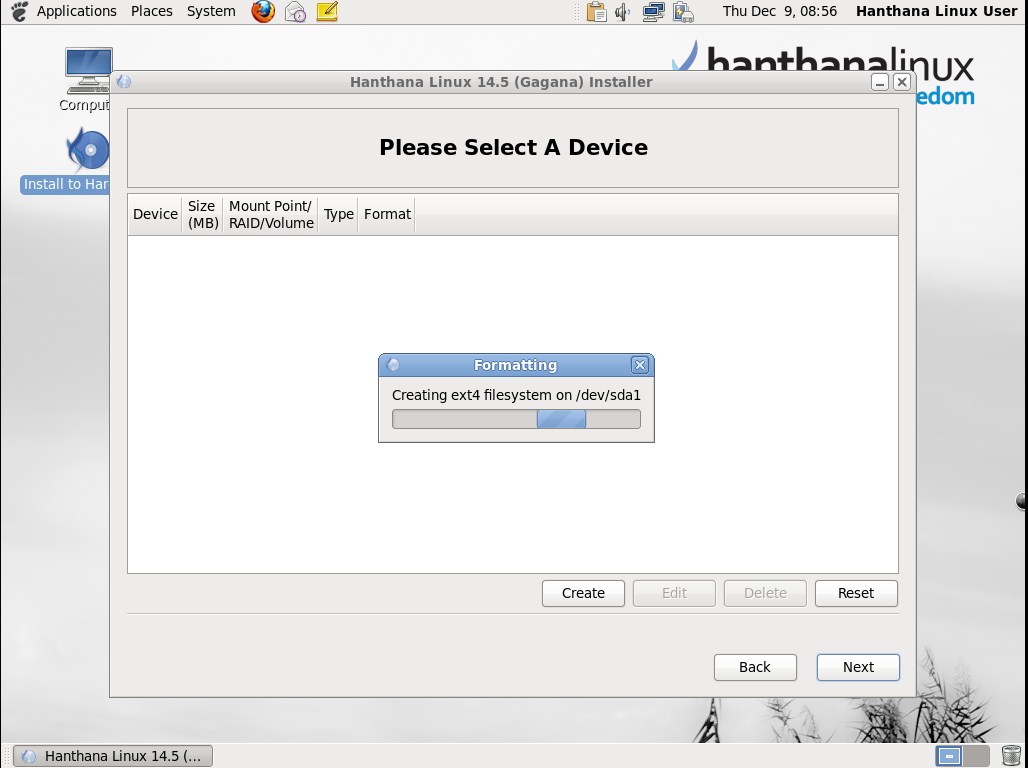
Next will be a window with a progress bar showing the progress of the formation of the partitions to suit Hanthana Linux installation.
Default booting operating system
In this window you can set the operating system which you wish to boot your computer by default. This is not relevant if you have no other operating systems installed in your computer. But if you have an operating system installed already, here it will be identified and let you choose from which operating system the computer should boot by default. By selecting an operating system and clicking "Edit" button will allow you to set a name for that operating system by which it will be displayed when booting the computer.
For example, if your computer has Windows XP installed already, in this step Hanthana Linux installer will identify that you have another operating system installed already. But the name (Label) of it will be displayed as "Other". If you want to rename this to Windows XP (or any other different name) select that row click on the "Edit" button and enter the desired name.
Operating system which is marked under Default will be the one that will be loaded by default when the computer boots.

Click on "Next".
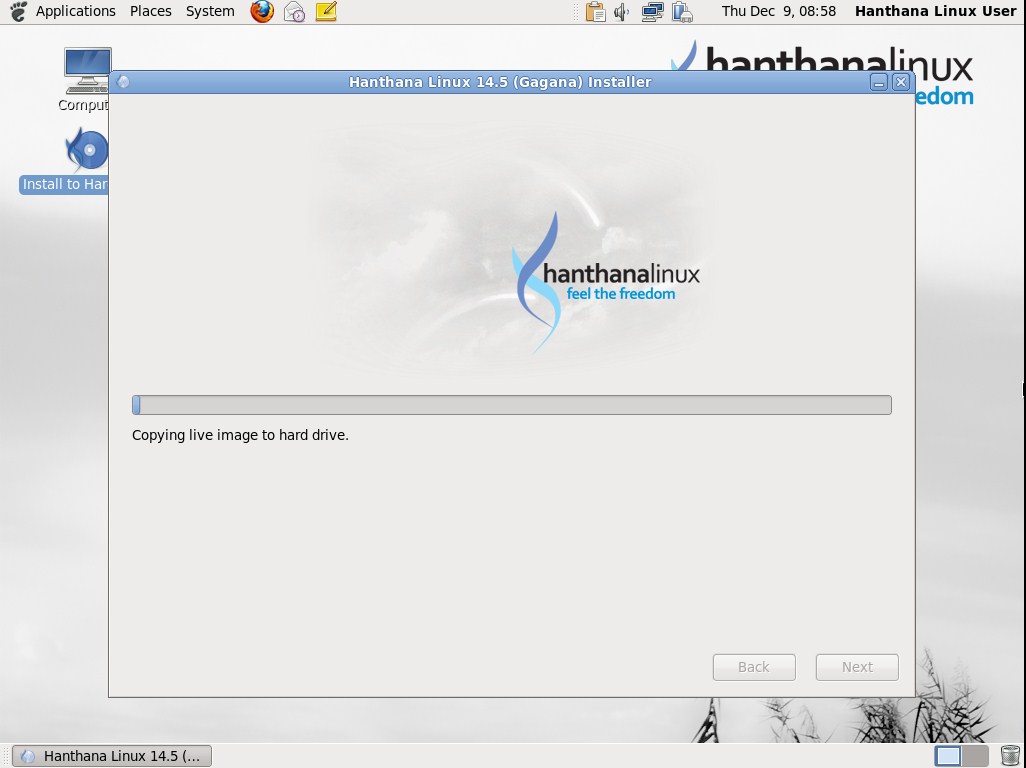
Now a window will be displayed with a progress bar by which the progress of the Hanthana Linux installation will be displayed. This may take some time (depending on the hardware configuration of your computer), please wait patiently. Generally the amount of time will be 30 minutes or less.
After the completion of the installation a window with a message saying that the installation is completed will be displayed.
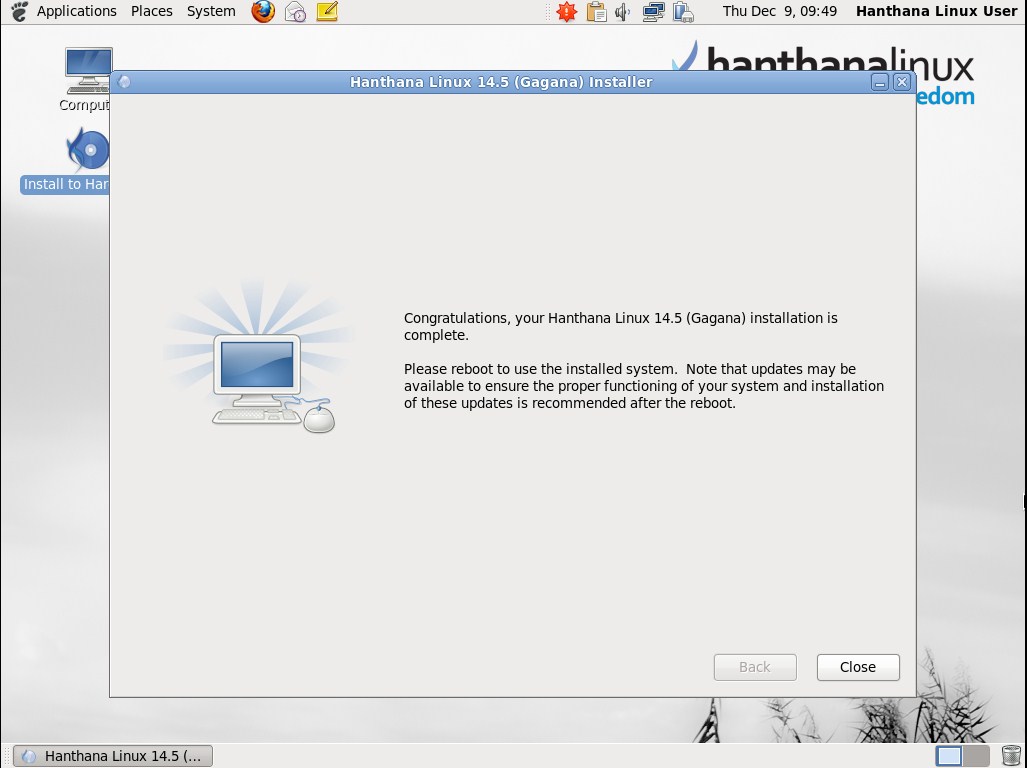
Congratulations! You have successfully completed installing Hanthana Linux on your computer.
Restarting the computer
Remove the DVD used for the installation from the DVD drive and restart the computer. You will get the following screen.
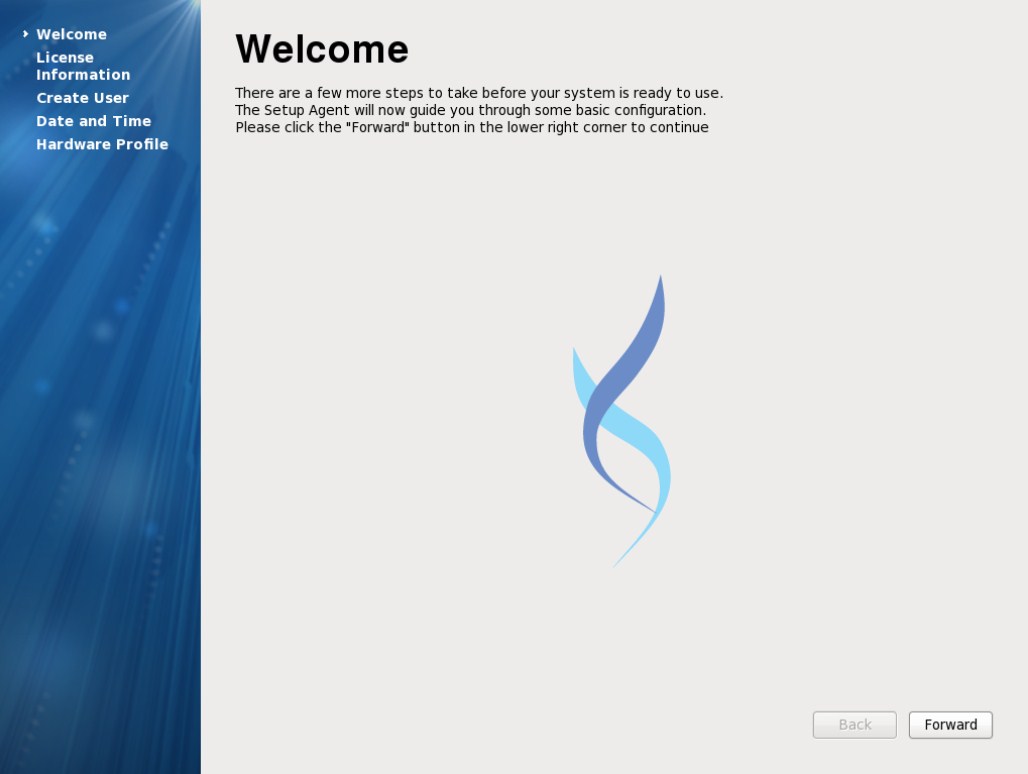
Click on "Forward" button.
License Information
Next will be the screen with License Information.
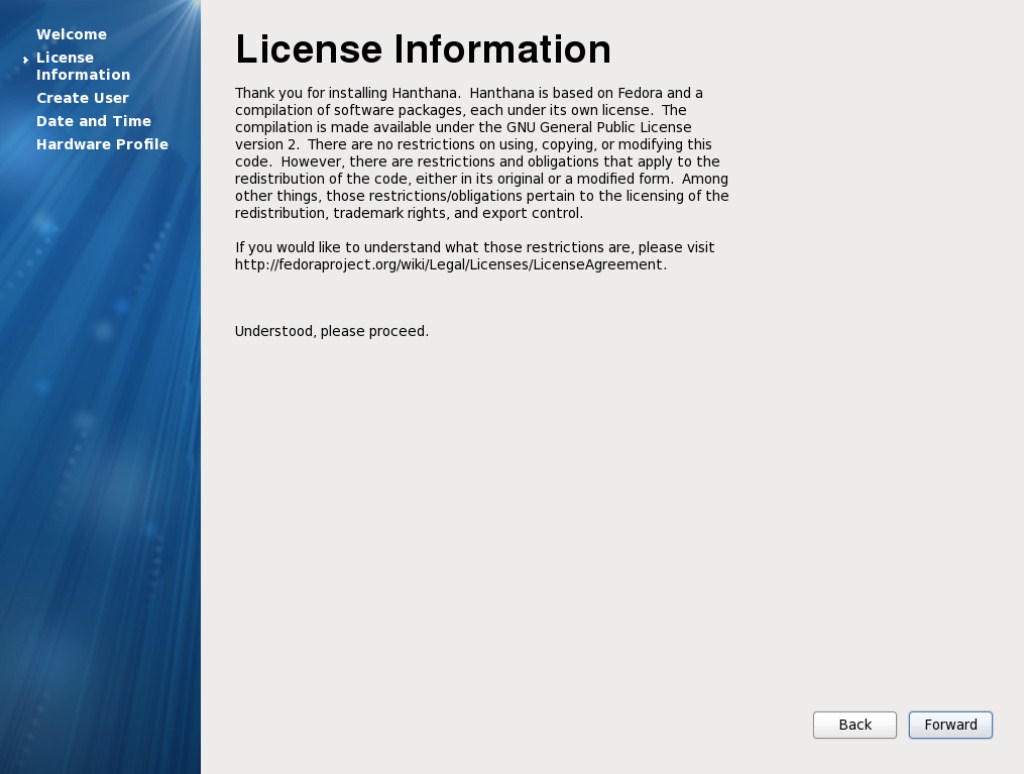
Click on "Forward" button.
Creating a new user
Create a new user here.
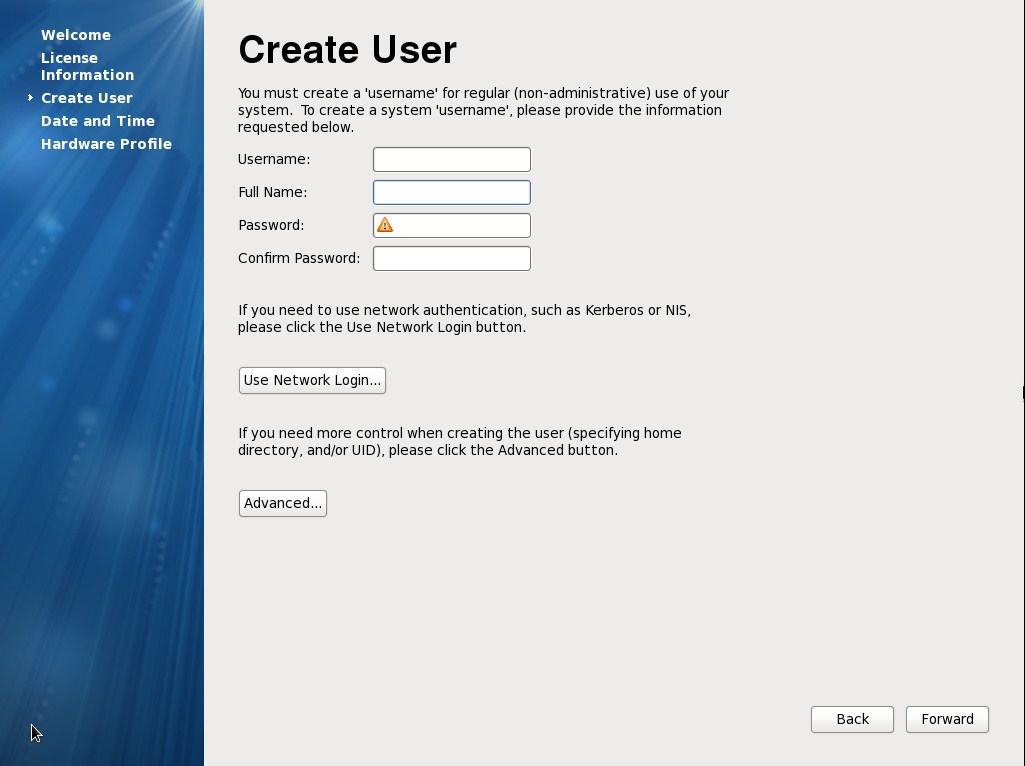
Here you have the chance to create an account for the user. It will be easy for you if you do not use uppercase (capital) characters for the username. Make sure that you enter the same password in both the provided text boxes. Don't forget to memorize the password that you provide.
Take the below details as an example in creating an account:
Username: sirimal
Full Name: Sirimal Ahinsaka
Password: Don't use your username as the password in public places like a company.
After entering the correct information, click on "Forward" button.
Date and Time
Edit date and time settings here.
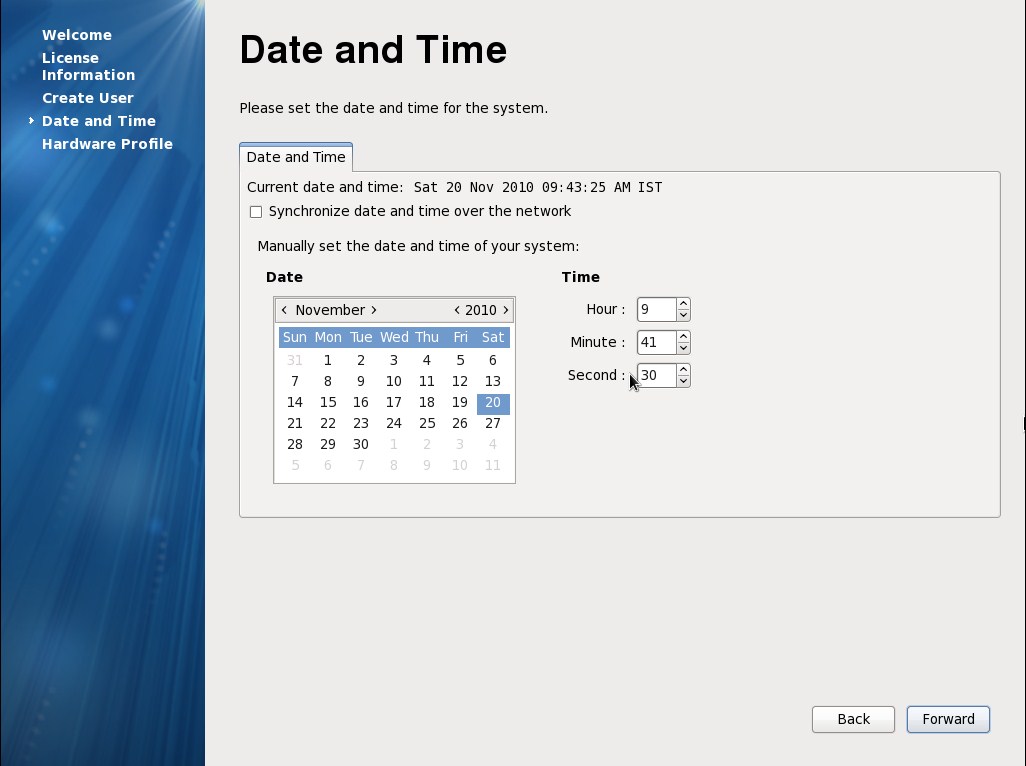
Click on "Forward" button.
Hardware Profile
Here the hardware profile of your computer will be displayed. You will be asked to send these data for the future development of the operating system. You need to have an internet connecting to send these data. Here you can select either "Send profile" or "Do not send profile".
These details will enable the developers of Hanthana Linux to get an idea about the usage and these data will be used to the future development of the operating system. Considering these facts the developers believe that you will send these details and thus contribute to the future development of Hanthana Linux operating system. Therefore please be kind enough to select "Send profile" option whenever you do a installation with an internet connection.
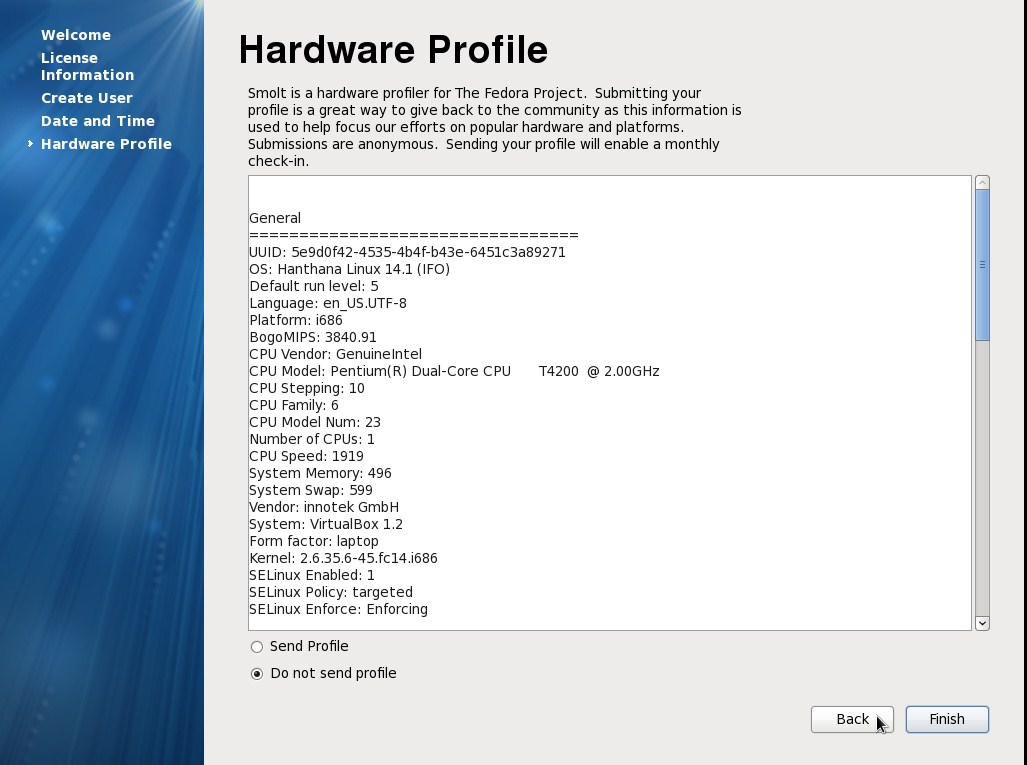
Click on "Finish" button.
If you select "Do not send profile" before, a confirmation message will appear. Press on "No, do not send." button.
Next you will be able to login to the Hanthanna Linux operating system. Enter your password and login.
If you want to use Sinhala interface click once on your username on the login screen, and before you enter the password, select "Other" from the left bottom Languages drop down menu and select Sinhala (Sri Lanka). Enter your password. To switch to English user interface or any other language user interface follow the above steps or select the desired language from Systems » Administration » Languages.
Hanthana Linux welcomes you.
Please be kind enough to send your comments and suggestions on Hanthana Linux operating system to info@hanthana.org
Hanthana Linux user group
http://groups.google.com/group/hanthana-community
hanthana-community@googlegroups.com
Most parts of Hanthana iso is under various GNU General Public Licenses and it is freely available for copying, sharing and distributing.
Website content under Creative Commons Attribution Share Alike License · Contributors · Powered by: